


Consider this your Guide to Gathering.
Learning how to create a tablescape that is not just beautiful, but also matches the tone you are trying to set is going to be your secret weapon to nailing your special occasion, every time. In my opinion, designing a thoughtful tablescape is just as important as curating the menu.
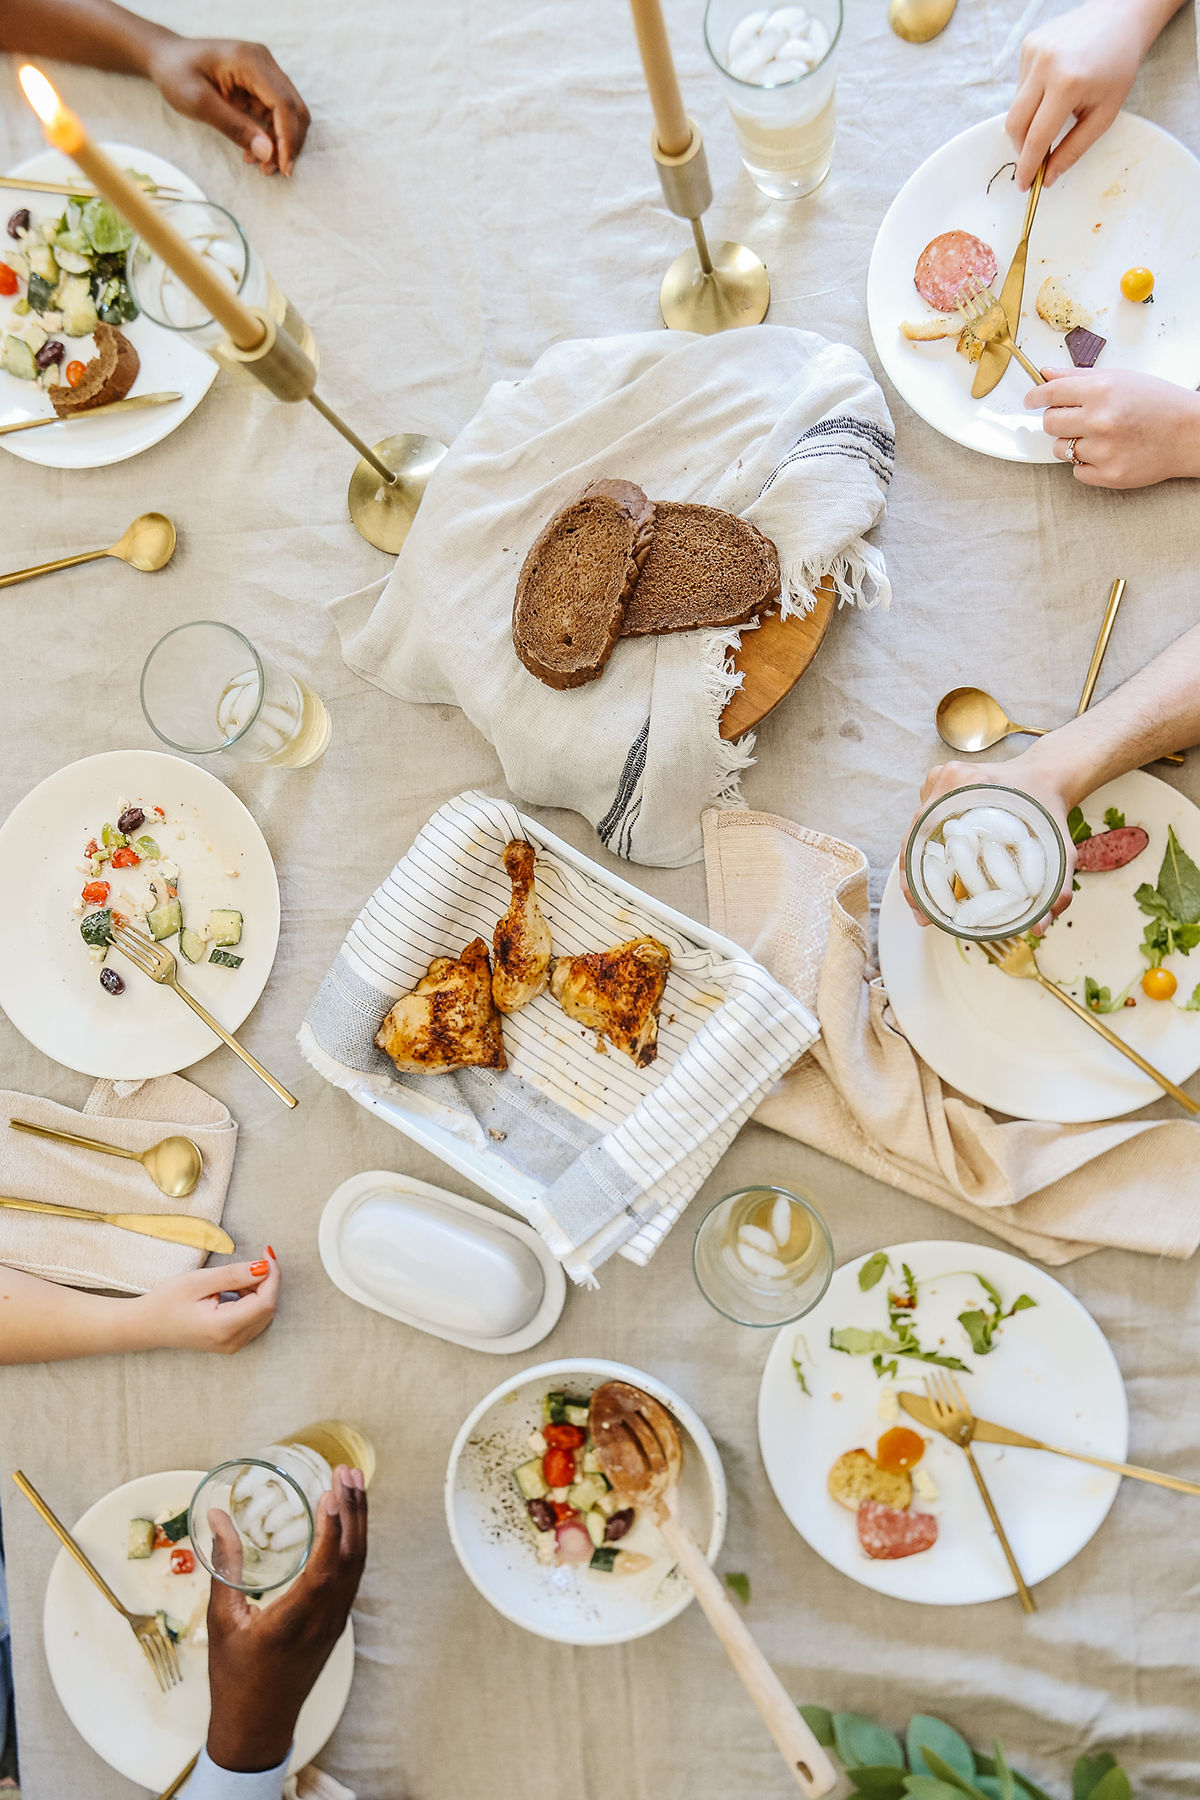
The purpose of a tablescape is to create a thoughtfully designed dining space for entertaining. A tablescape is also a meaningful gesture in expressing to your guests that their presence is important to you and that you have gone above and beyond to make their experience enjoyable.
Keep in mind: the perfect tablescape is not one that is the most extravagant or most complex – it is the one that creates the greatest sense of ease and flow for your group.
Below is a step-by-step guide on how to masterfully create a tablescape that is both elevated and practical.
Step 1: Consider The Needs of Your Guest
Considering the needs of your guests will take your guests’ experience from good to great. The worst thing you could do during a dinner party is interrupt the flow of conversation by having to get up from the table to grab essential items that were not considered in the planning process.
Some questions you should ask yourself are:
- Will we be serving a plated, buffet-style, or family-style meal?
- What kind of serving dishes will be required?
- How many utensils will each guest need for each course?
- Are there any condiments, sauces, etc. that will be served with the meal? Where will they be placed?
- Are there extra napkins readily available?
This is not an all-inclusive list, but a good starting point to get the ideas flowing. Jot these notes down if you need to. You’ll be referring back to the answers to these questions in later steps.
Step 2: Create a Mood Board
Mood Board Inspiration
You’ll learn quickly around here that I create mood boards for literally everything. This is hands-down the best way to visualize the overall theme of the event you are creating. I like to start with a Pinterest search and create a board so all of my ideas are saved in one place.
Tiktok and Instagram are also great resources for finding and saving inspiration photos/videos. Both of these apps have a feature for sorting your “favorite” posts into folders to make them easy to find later.
No matter what app or source you’re using, it is important to have your inspo photos saved in one place so that you can easily scan over them and identify any trends. For example: you may notice that there is a certain color palette you are consistently clicking and saving.
Mood Board Contents
I make all of my mood boards in Canva because this is the app I am most comfortable with – but truly any app will do. Your mood board is going to be your North Star in this whole journey, so keep it somewhere that is convenient to refer back to.
It isn’t necessary to have a specific theme, but it is a good idea to have a general color palette. Personally, I like to choose a color palette of about 5 colors or textures – 2 main colors, 1 neutral base, and 2 accent color/textures. I treat textures such as brass, leather, rattan, wicker, etc. as a “color” to keep it interesting without feeling busy. You could also use elements of nature as one of your accent color/textures (for example: a bowl of lemons, freshly clipped branches, pumpkins, etc).
📌 For tablescape ideas and inspiration, follow my “Tablescapes” board on Pinterest here.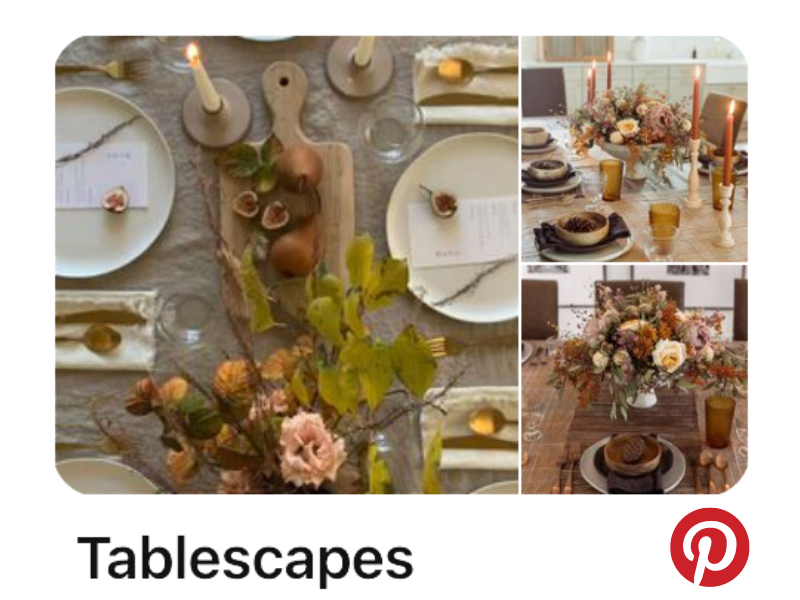
Step 3: Choosing a Dining Table
If you are having an intimate dinner party at your home and plan to use your existing dining table, you can skip this step. If you are planning on adding a table to another space, there are a few things to consider when deciding what kind of table(s) you’ll need.
Back in Step 2, we talked about how the needs of our guests is always at the forefront of our planning. That comes into play here in weighing the pros and cons of different table shapes. Of course, dining tables come in all shapes and sizes, but for the sake of simplicity we will just discuss standard rectangular and round dining tables.
Option 1: Rectangular Dining Table
Pros:
- Better for accommodating larger groups
- More elbow room (usually)
- More space for serving dishes and decorative items
Cons:
- More difficult to pass items/eat family style
- Can take up a lot of space
- Can feel unfinished if there are an odd number of guests
Option 2: Round Dining Table
Pros:
- Better for including the entire group in a conversation
- Easier for family-style dinners
- Usually better for small spaces
- Better for an odd number of guests
Cons:
- Take up less overall space
- Less space on the table for serving dishes and décor
- Can usually hold fewer guests
Of course, every unique situation will be different and it’s up to you to decide what works best for your group. Don’t overthink this – you can host a great event with either style table. I think it’s even fun to mix and match round and rectangular tables to give your guests options at larger events.
If your table will be exposed (no tablecloth), be sure that the finish of the table itself is something will match the aesthetic you are going for. And lastly, ascertain that the size of your table is proportionate to the size of your chairs.
Step 4: Anatomy of a Tablescape
Okay, so far, we have laid the foundation for creating a tablescape. We know what our guests need, we have a mood board to guide our table design, and we have figured out what kind out table we will use. Now, we get to the real meat and potatoes of the overall design.
In general, every tablescape will have some combination of the following:
- Tablecloth and/or table runner
- Placemat and/or charger plate
- Dishes
- Utensils
- Drinkware
- Napkins
- Serving Dishes
- Centerpiece(s)
I know this sounds like a lot of decisions, so let’s break it down. Go back to your mood board and decide on your must-haves. For example, if all of your pins feature dining tables with a patterned tablecloth and minimalistic place settings, you can immediately knock table runners, place mats, and charger plates off of your list.
Let’s go through each item and talk through them together. I will also be sharing some of my favorite timeless tableware staples that can be mixed & matched into any design.
Tablecloth and/or Table Runner
When selecting a tablecloth, pay close attention to the fabric. More formal events call for more formal fabrics (silk, linen, etc). More casual events could get away with a lighter fabric or even a bare table, if you prefer.
Tip: If the menu calls for messy food items like a seafood boil or red sauce, choosing fabric that is easy to clean will make your life so much easier. Same goes for if you will be dining outdoors.
If I go bold on the tablecloth pattern, I will usually go more neutral with the other tabletop decor and vice versa. A table runner is not always necessary (and to be honest, I usually omit), but they can be useful for softening a busy tablecloth or spicing up a boring one.
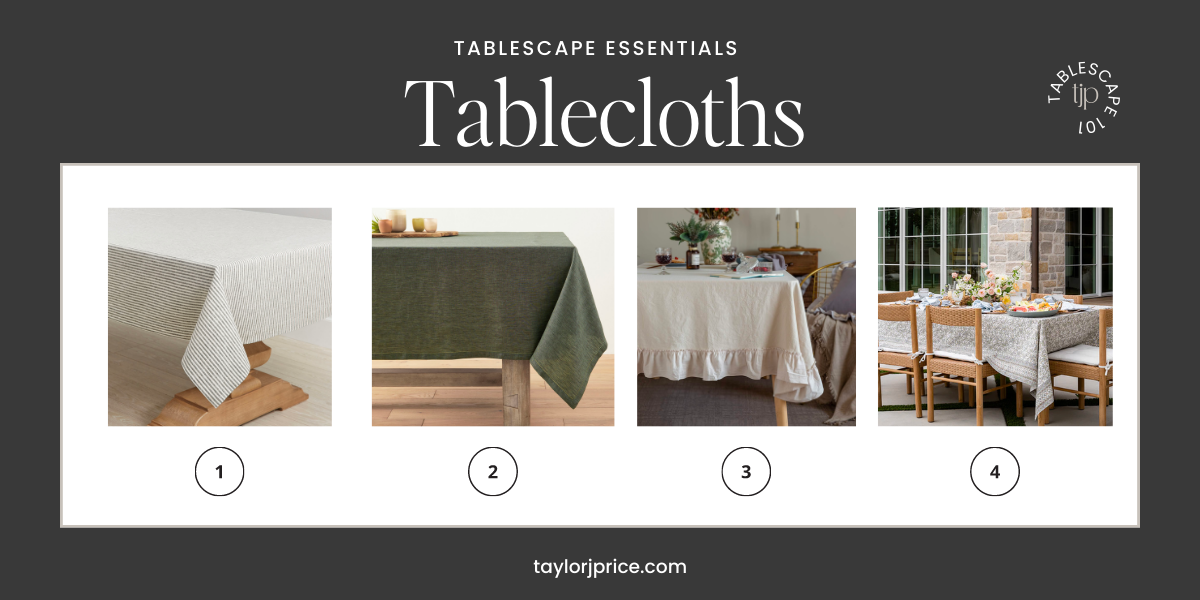 LINKS: No. 1 | No. 2 | No. 3 | No. 4
This post may contain affiliate links, which means I may receive a commission, at no extra cost to you, if you make a purchase through a link. Please see my full disclosure for further information.
 LINKS: No. 1 | No. 2 | No. 3 | No. 4
Placemat and/or Charger Plate
After choosing your tablecloth, you will have more direction on how you want the rest of your base to look. This is another great place to add texture. Go neutral to soften a heavily patterned tablecloth, or omit all together for a simpler look. Refer back to your mood board for inspiration on this.
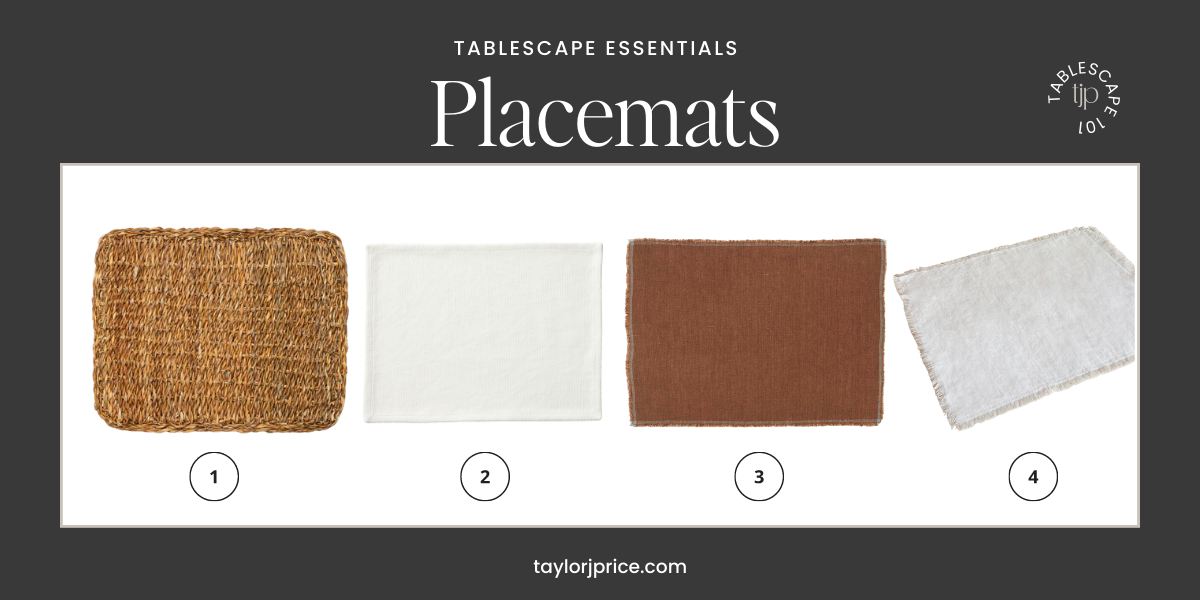 LINKS: No. 1 | No. 2 | No. 3 | No. 4
 LINKS: No. 1 | No. 2 | No. 3 | No. 4
Dishes
Go back to the questions your answered (either mentally or on your written list) in Step 1 to determine what dishes your guests will need. Plain ol’ white plates and bowls are always classic, but feel free to get creative here. I love to add interesting china to tablescapes, especially on a neutral base! Interesting dishes also make a great conversation starter! Don’t be afraid to mix patterns and really flex your creativity muscle.
 LINKS: No. 1 | No. 2 | No. 3 | No. 4
Utensils
There is no need to run out and buy new silverware for an intimate dinner party at home, but it does feel special to have a more elevated set of utensils for special occasions.
Tip: If you need to buy a large order of silverware for a big event, try a wholesale site like Alibaba for the best deals.
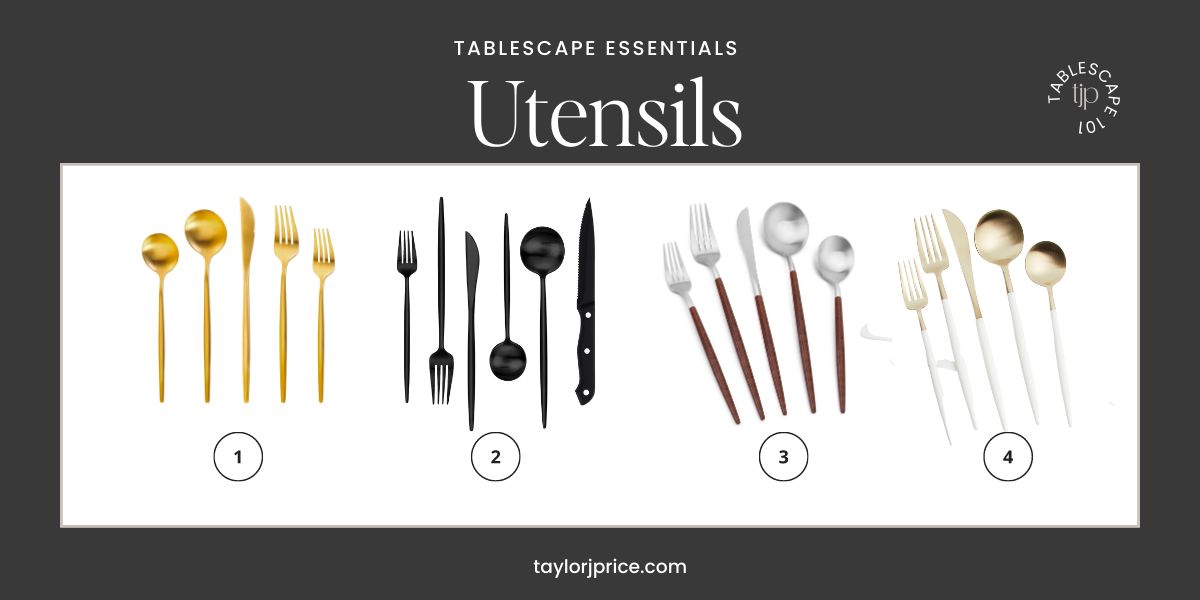 LINKS: No. 1 | No. 2 | No. 3 | No. 4
Drinkware
You can find relatively inexpensive, trendy glassware at stores like CB2 and ikea. A fun glass adds to much character to a table without breaking the bank. If you have a specific drink that will be served, this can help guide your decision on what kind of glasses to purchase.
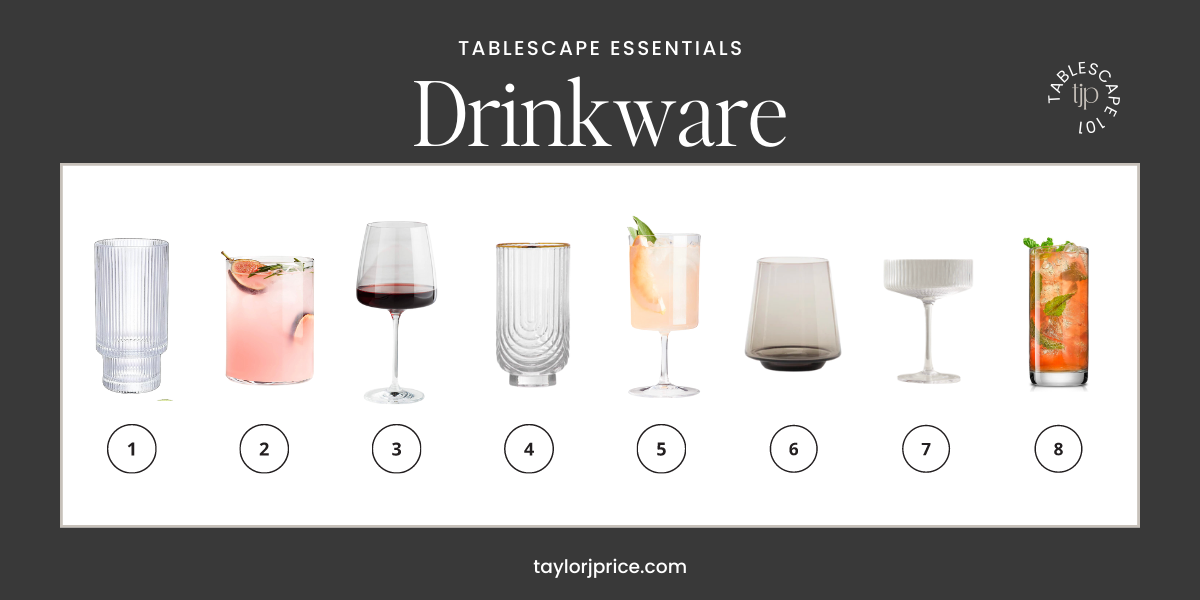 LINKS: No. 1 | No. 2 | No. 3 | No. 4 | No. 5 | No. 6 | No. 7 | No. 8
Napkins
You really can’t go wrong with a plain white napkin and it tends to match most tablescapes. It’s worth it to invest in good quality napkins that will last for years. Just be sure they’re not so expensive that you don’t want your guests actually wiping up messes with them.
Check your saved photos again here for inspiration on how you want your napkin to be folded or if you want to add a napkin ring.
 LINKS: No. 1 | No. 2 | No. 3 | No. 4
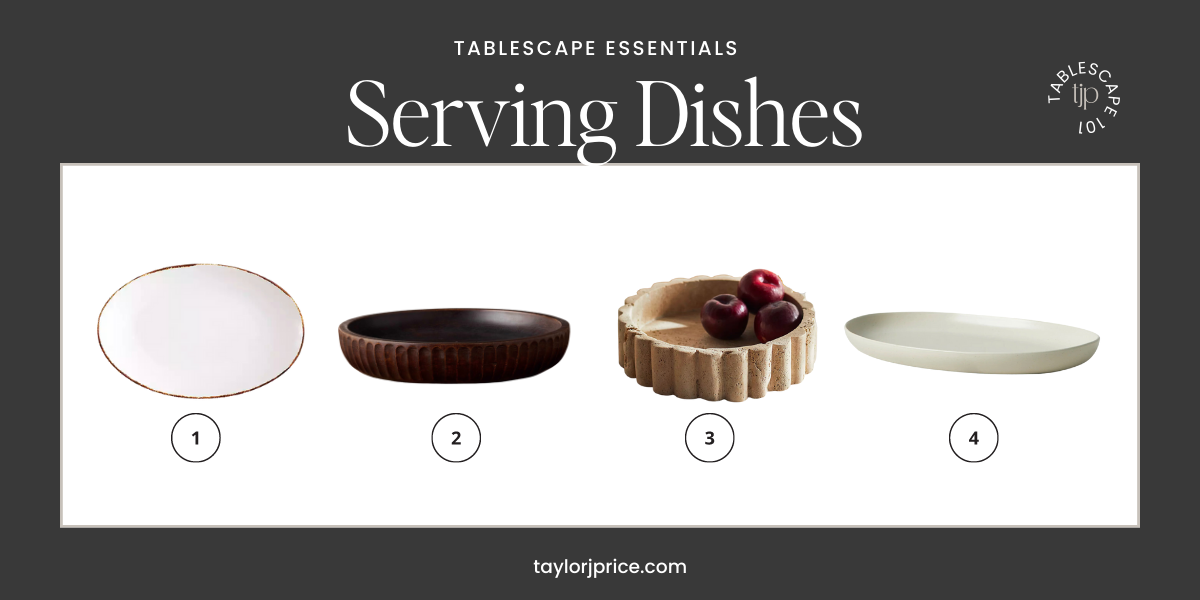
Serving Dishes
This is less important if you will be serving a plated dinner, but if your guests will be serving themselves, choose attractive serving dishes that match the overall aesthetic. Personally, I eat first with my eyes, and food served from a beautiful bowl or casserole dish just somehow tastes better.
 LINKS: No. 1 | No. 2 | No. 3 | No. 4
 LINKS: No. 1 | No. 2 | No. 3 | No. 4
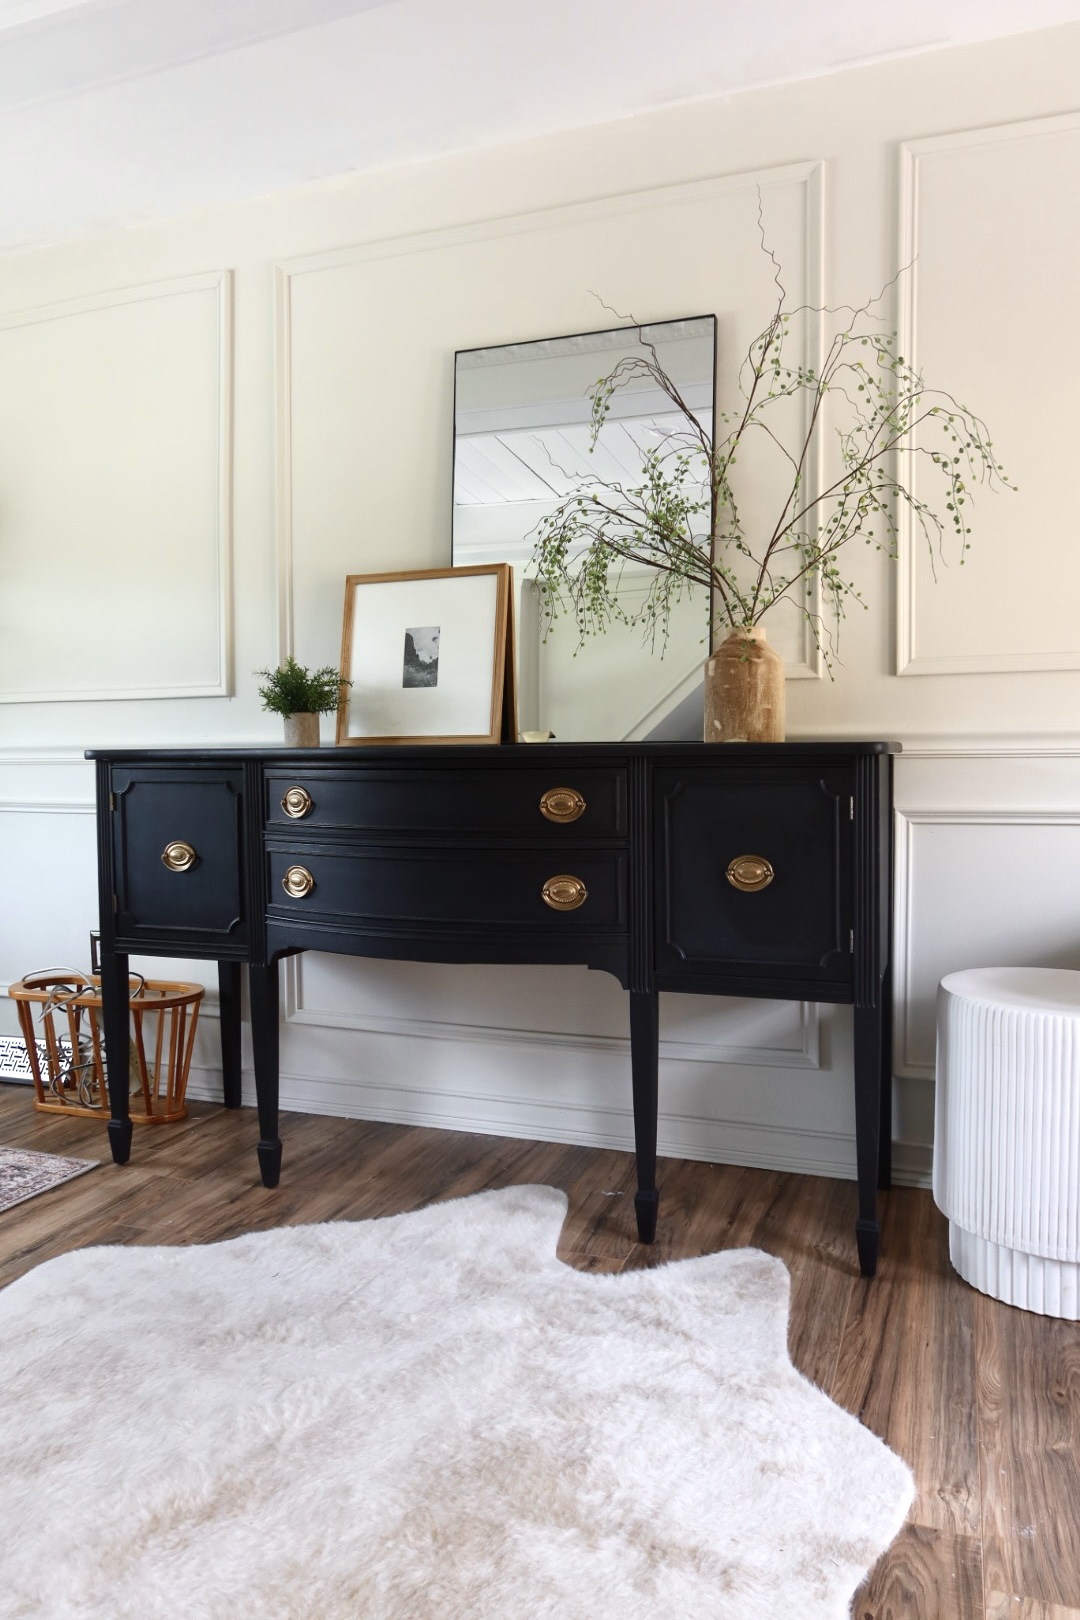
Step 6: Centerpieces
You know what I’m about to say right? Refer back to your holy grail – your mood board. Finding the right balance when it comes to the right size and placement just takes a little patience and a lot of rearranging.
If purchasing any new décor items, look for capsule pieces that can be used over and over again.
Mix and match your staple pieces to fit your theme by adding seasonal touches. For example, you could add trimmed branches from your backyard to a big vase or fill a bowl with seasonal fruit. Think of it like a capsule wardrobe for your dining table.
 LINKS: No. 1 | No. 2 | No. 3 | No. 4
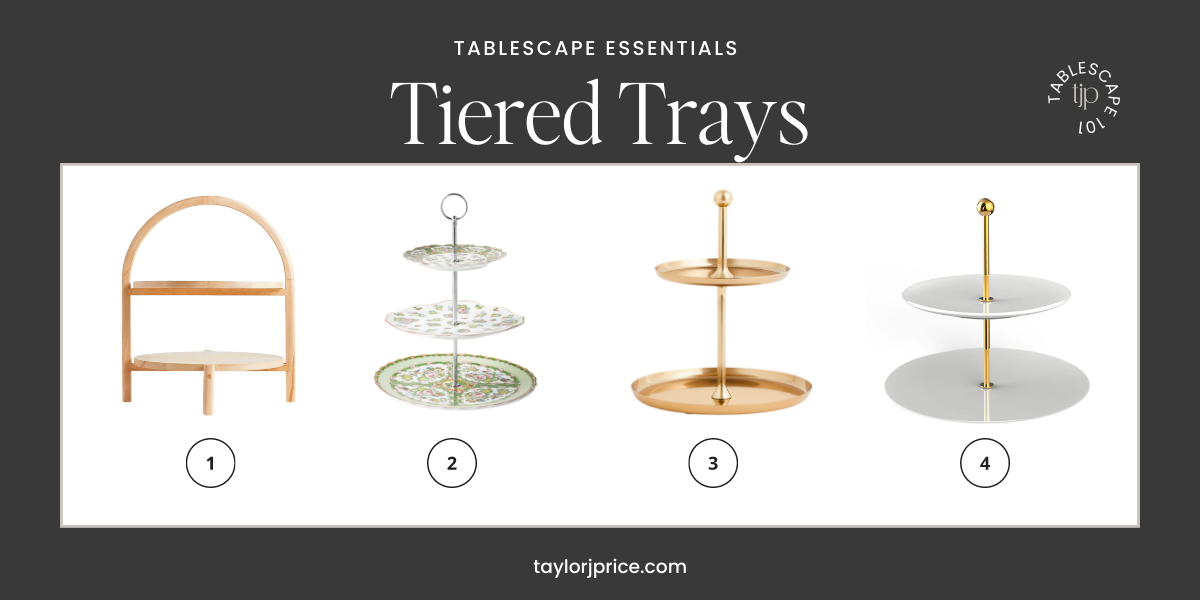
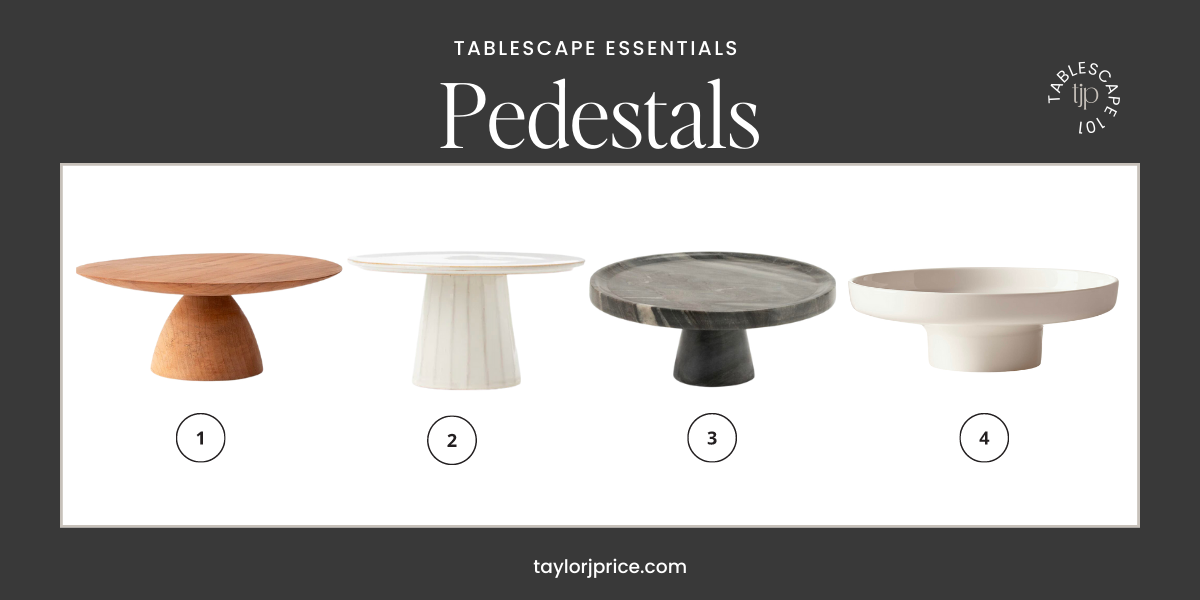
When placing your selections, leave enough clear space on the table for any serving dishes and utensils. Raised or tiered platters can double as both a functional serving dish and a centerpiece. Varying the heights of your serving trays adds more usable square footage for serving dishes and adds visual interest to your tablescape.
Tip: Large centerpieces, while beautiful, can interrupt the flow of conversation between guests. Keep this in mind if dinner conversation is your top priority.
 LINKS: No. 1 | No. 2 | No. 3 | No. 4
 LINKS: No. 1 | No. 2 | No. 3 | No. 4
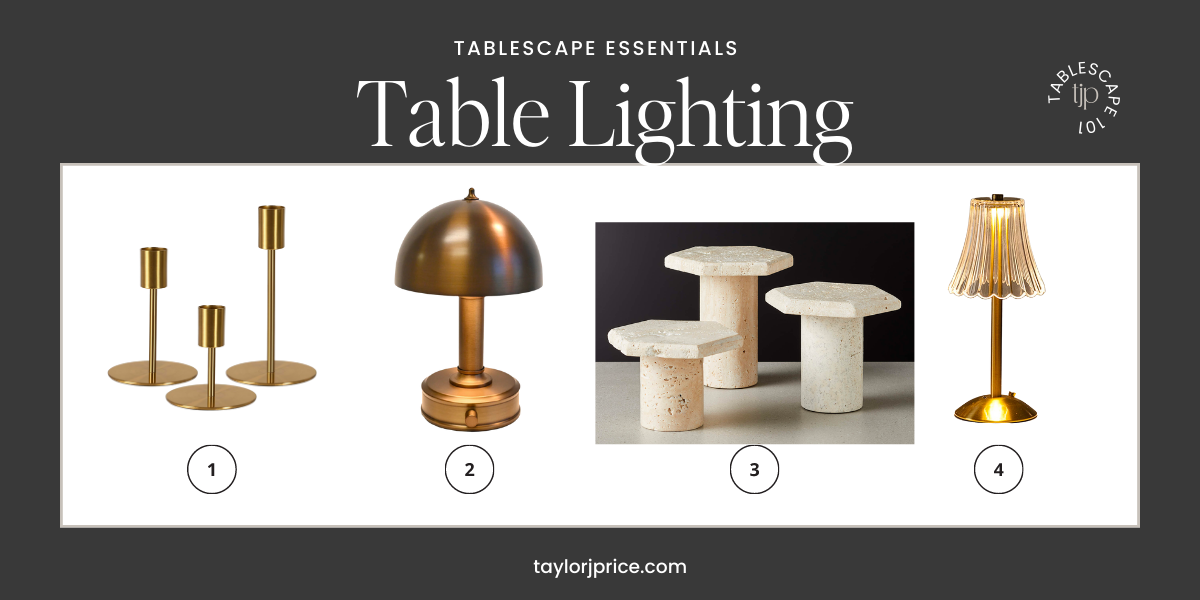
Step 7: Lighting
If you’re entertaining during the day, take advantage of as much natural light as you can. In the evening, opt for candles, string lights, or even small lamps, as you see fit. Bonus points if you have several different types of lighting!
Tip: If your guests need to be able to read a menu, be sure to provide enough lighting to do so.
 LINKS: No. 1 | No. 2 | No. 3 | No. 4
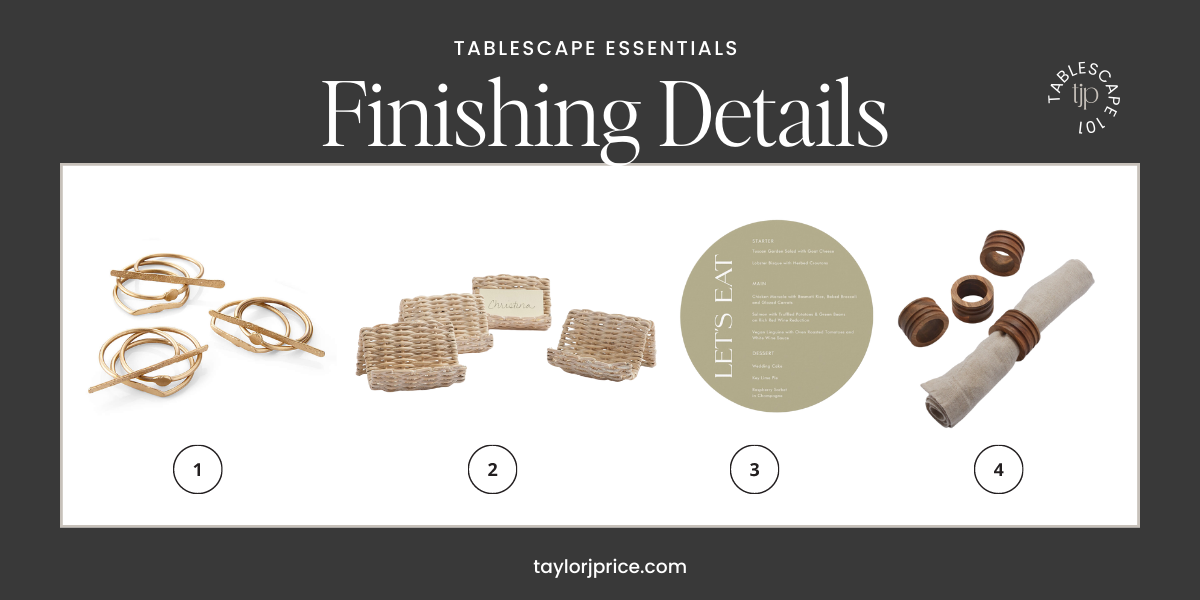
Step 8: Personalization and finishing details
This is by far my favorite step and the step that my guests rave about way after the gathering is over. Add a few thoughtful touches to make your tablescape feel personal and complete.
Here are some ideas for finishing touches:
- Personalized name cards
- Printed dinner menu cards
- Napkin holders
- Party favors for guests to take home
- Chair decorations
Adding these small details packs a big punch and are usually very budget-friendly. As an extra special bonus, consider printing these dinner party conversation starters and adding them to a bowl at the center of the table to get conversation flowing!
 LINKS: No. 1 | No. 2 | No. 3 | No. 4
This blog was all about how to create a tablescape for any occasion.
You can apply the tips from this guide on how to create a tablescape to events of any size from intimate dinner parties to extravagant galas. By planning ahead and getting organized, you will be able to relax and really be in the moment when entertaining. Dinner party guests will pick up on nonverbal cues from their host. So, if you are in good spirits, it’s likely that they will be too. Pin this post to refer back to it when you are planning your next event and happy tablescaping!


Read the Comments +