


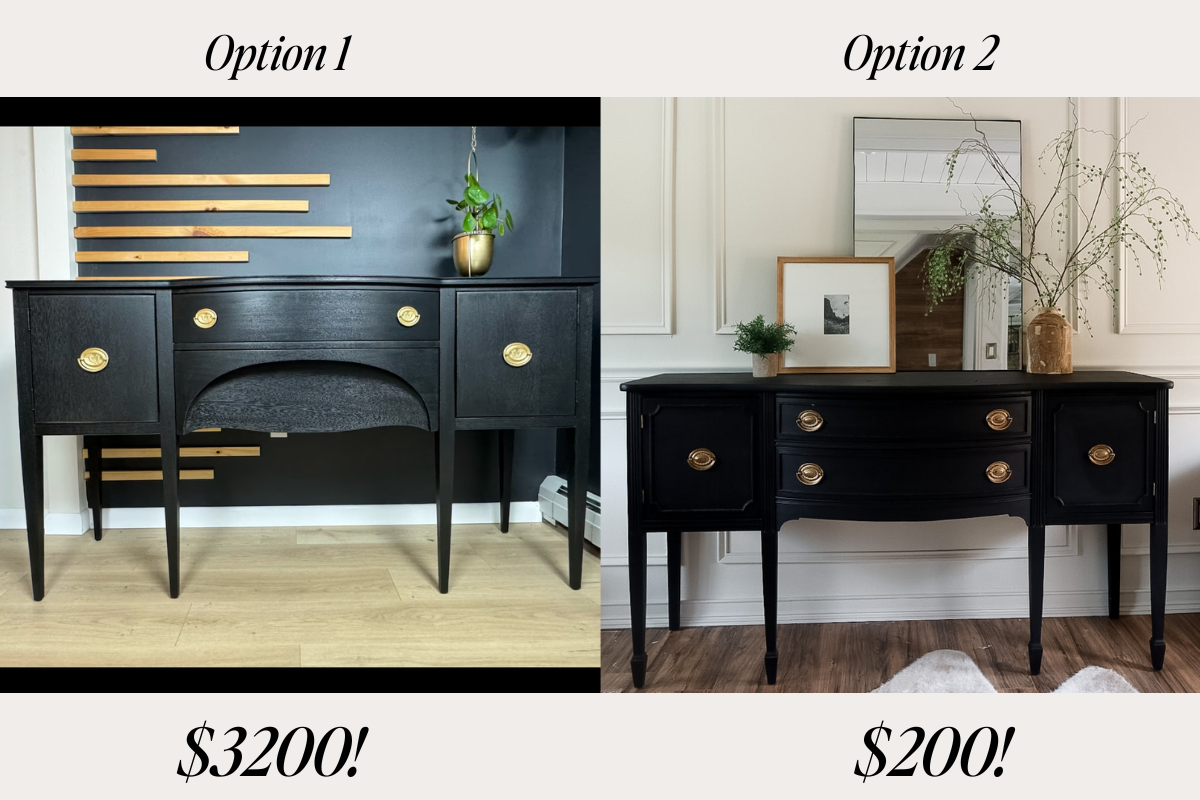
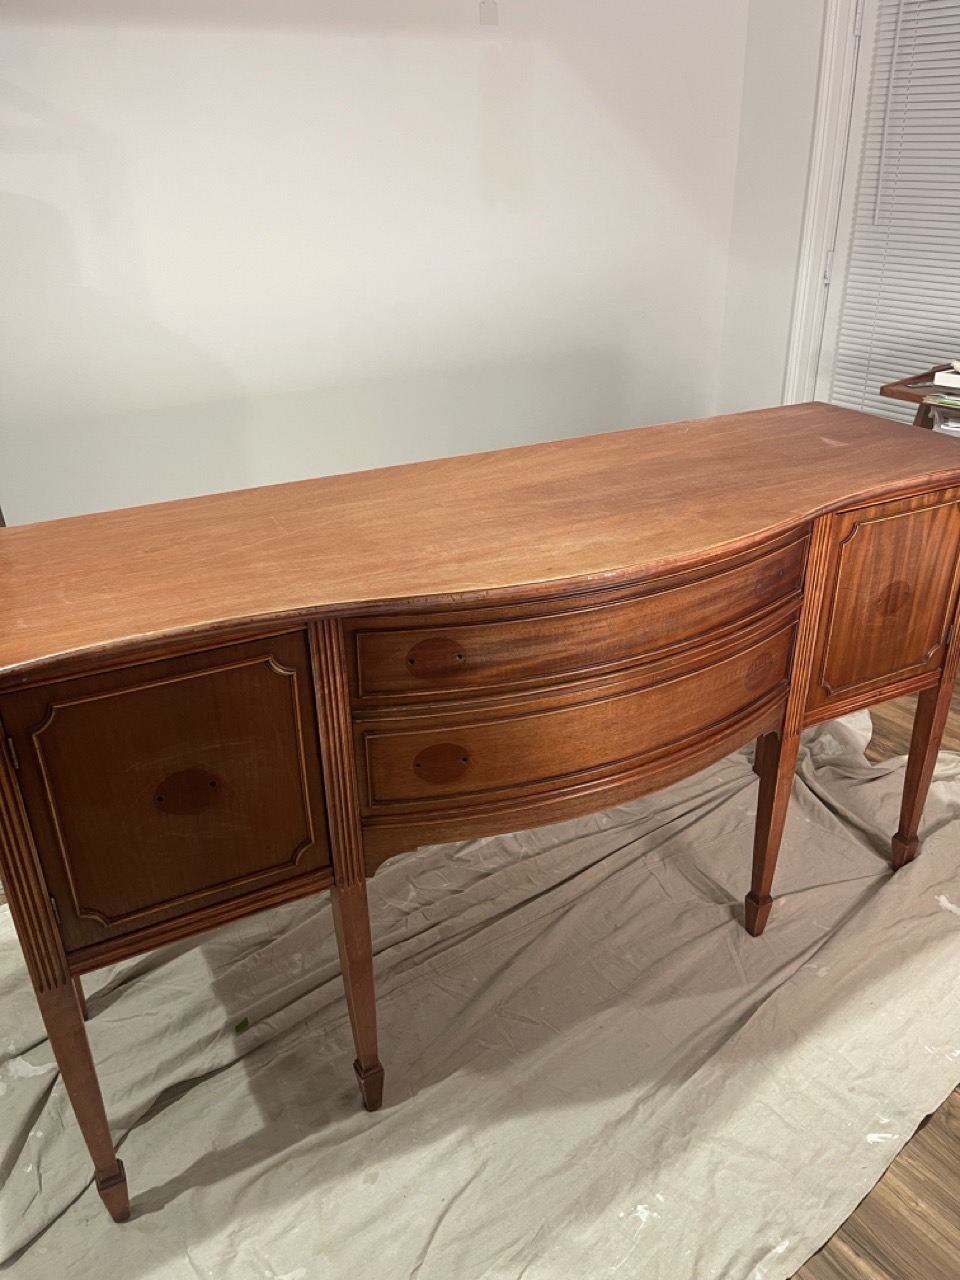
What if I told you that one of these two buffet tables costs over $3,000 and the other cost less than $200?
Source: Etsy
The one on the right is the DIY painted sideboard I upcycled for less than $200 — and I’m going to show you exactly how I did it!
This all started when I was looking for a the perfect black console table for my office. ALL of the options available that were the size, shape, and style I was looking for were totally out of budget. (When did buffet tables get so expensive?!). I realized pretty quickly that in order to get the size and quality of sideboard I wanted for a reasonable price, I would have to do a little thrifting and/or DIY-ing.
After having no luck at my local thrift store, I found this pretty (but in slightly rough shape) buffet table listed Facebook Marketplace. I made an offer for $125 and after 2 prospective buyers ahead of me fell through, the seller accepted my offer! I hustled to pick it up, anxious to get started on turning her into a masterpiece.
This post may contain affiliate links, which means we may receive a commission, at no extra cost to you, if you make a purchase through a link. Please see our full disclosure for further information.
Step 1: Repairs
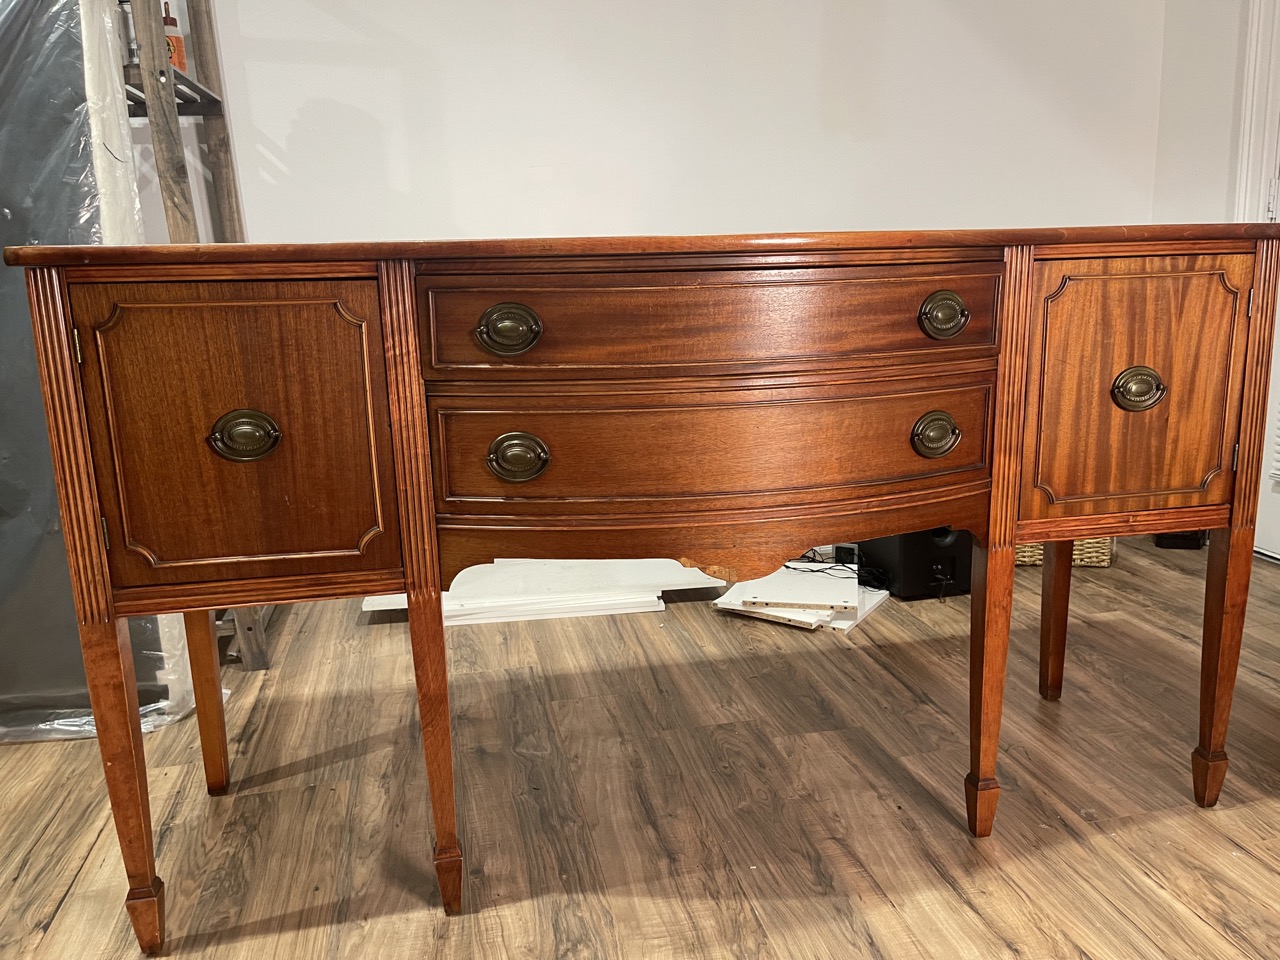
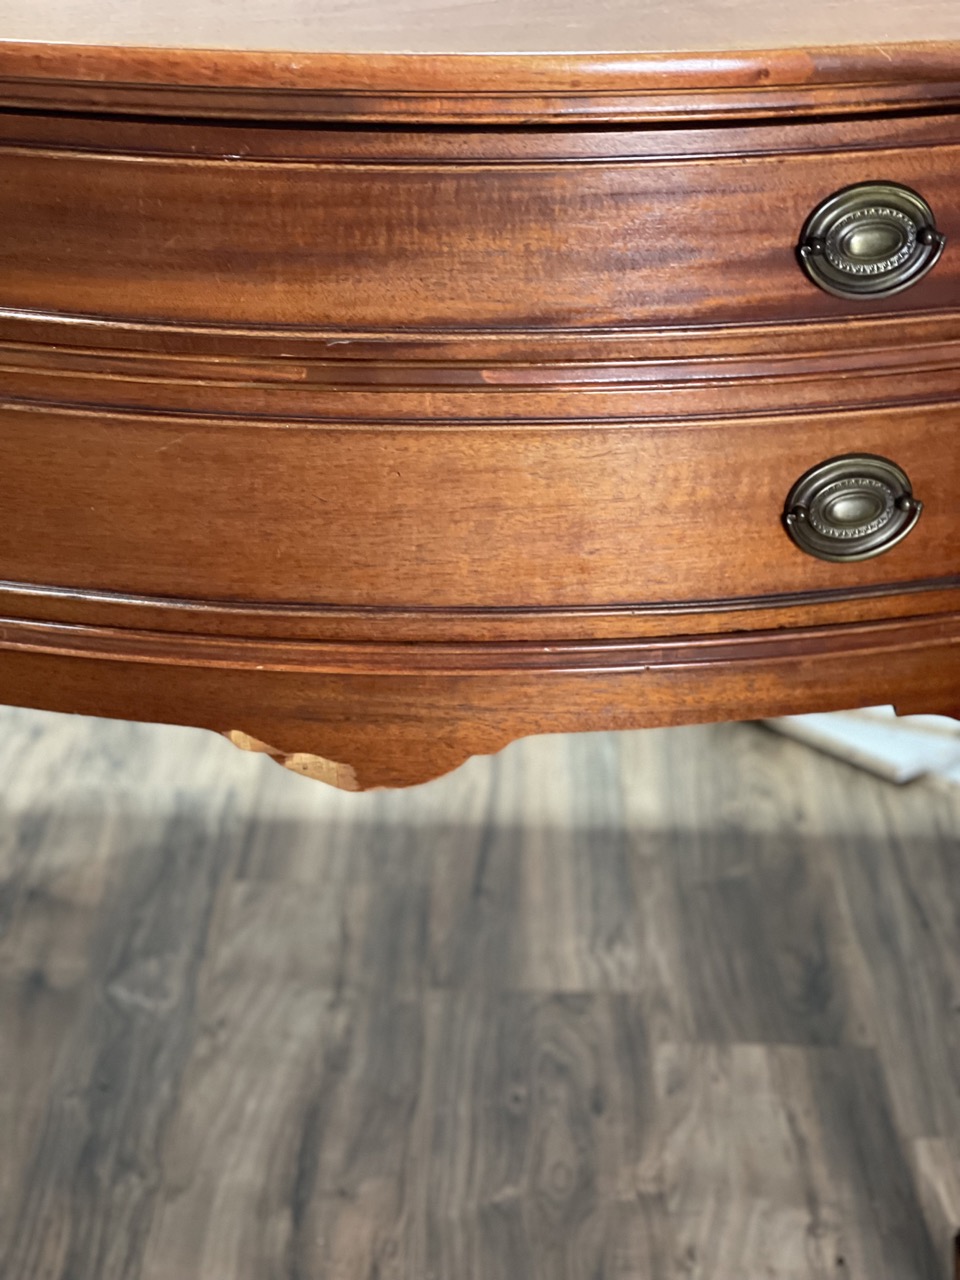
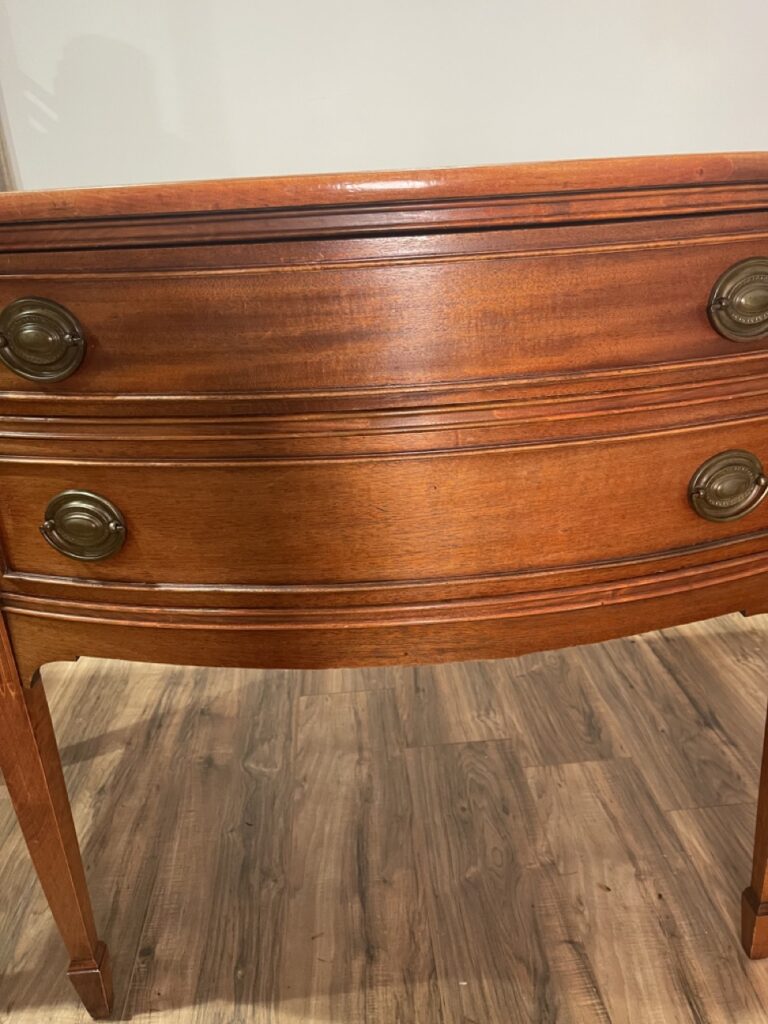
The very first thing I did was inspect the buffet for any imperfections that might need to be repaired prior to painting. While overall, the buffet table was already stunning and had great bones, there were definitely signs that it had seen better days. You can see in the section in the middle of the sideboard there was some chipped wood that would obviously need to be repaired. While it wasn’t terribly damaged, it was definitely an eye sore that needed to be addressed. My options were to:
1. Repair the wood with wood putty or Bondo and get as close to the original shape as possible. This would require some time spent filling the wood, waiting for it to dry, sanding, and shaping.
Or
2. Remove this whole detail for a smooth bottom surface.
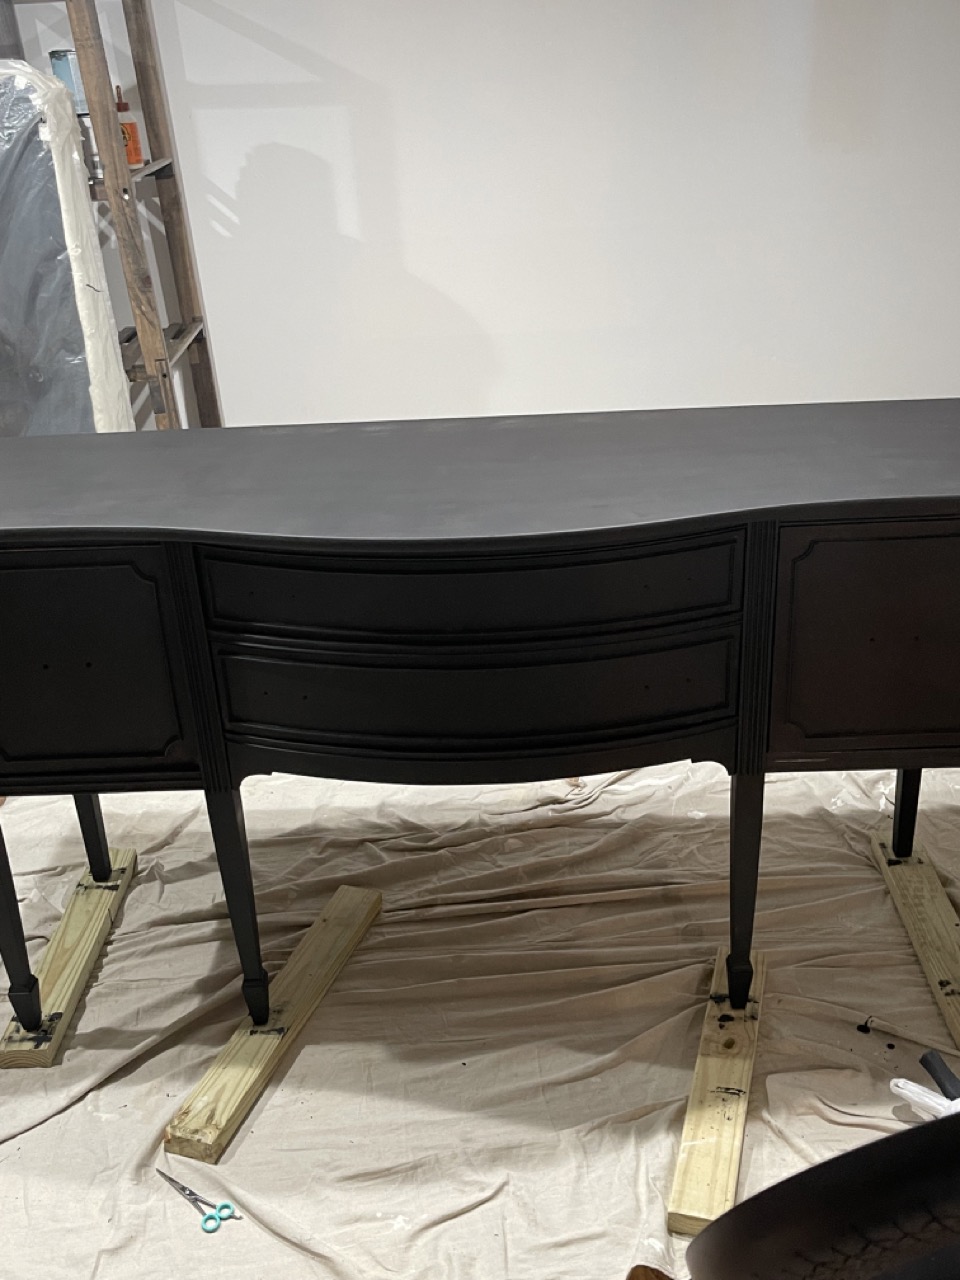
In the end, I decided option 2 would result in the cleanest look and would take a lot less time and effort. This chipped area ended up being a blessing in disguise because I LOVE the way the buffet table looks with a smooth bottom edge and I probably would not have considered altering it in this way otherwise.
To visualize this, I used painter’s tape to tape off the part I wanted to remove. I was happy with how that looked, so I used my oscillating multi-tool to cut straight across. There might be a more precise way to do this but I was using what I had and knew I could clean up the area by sanding after.
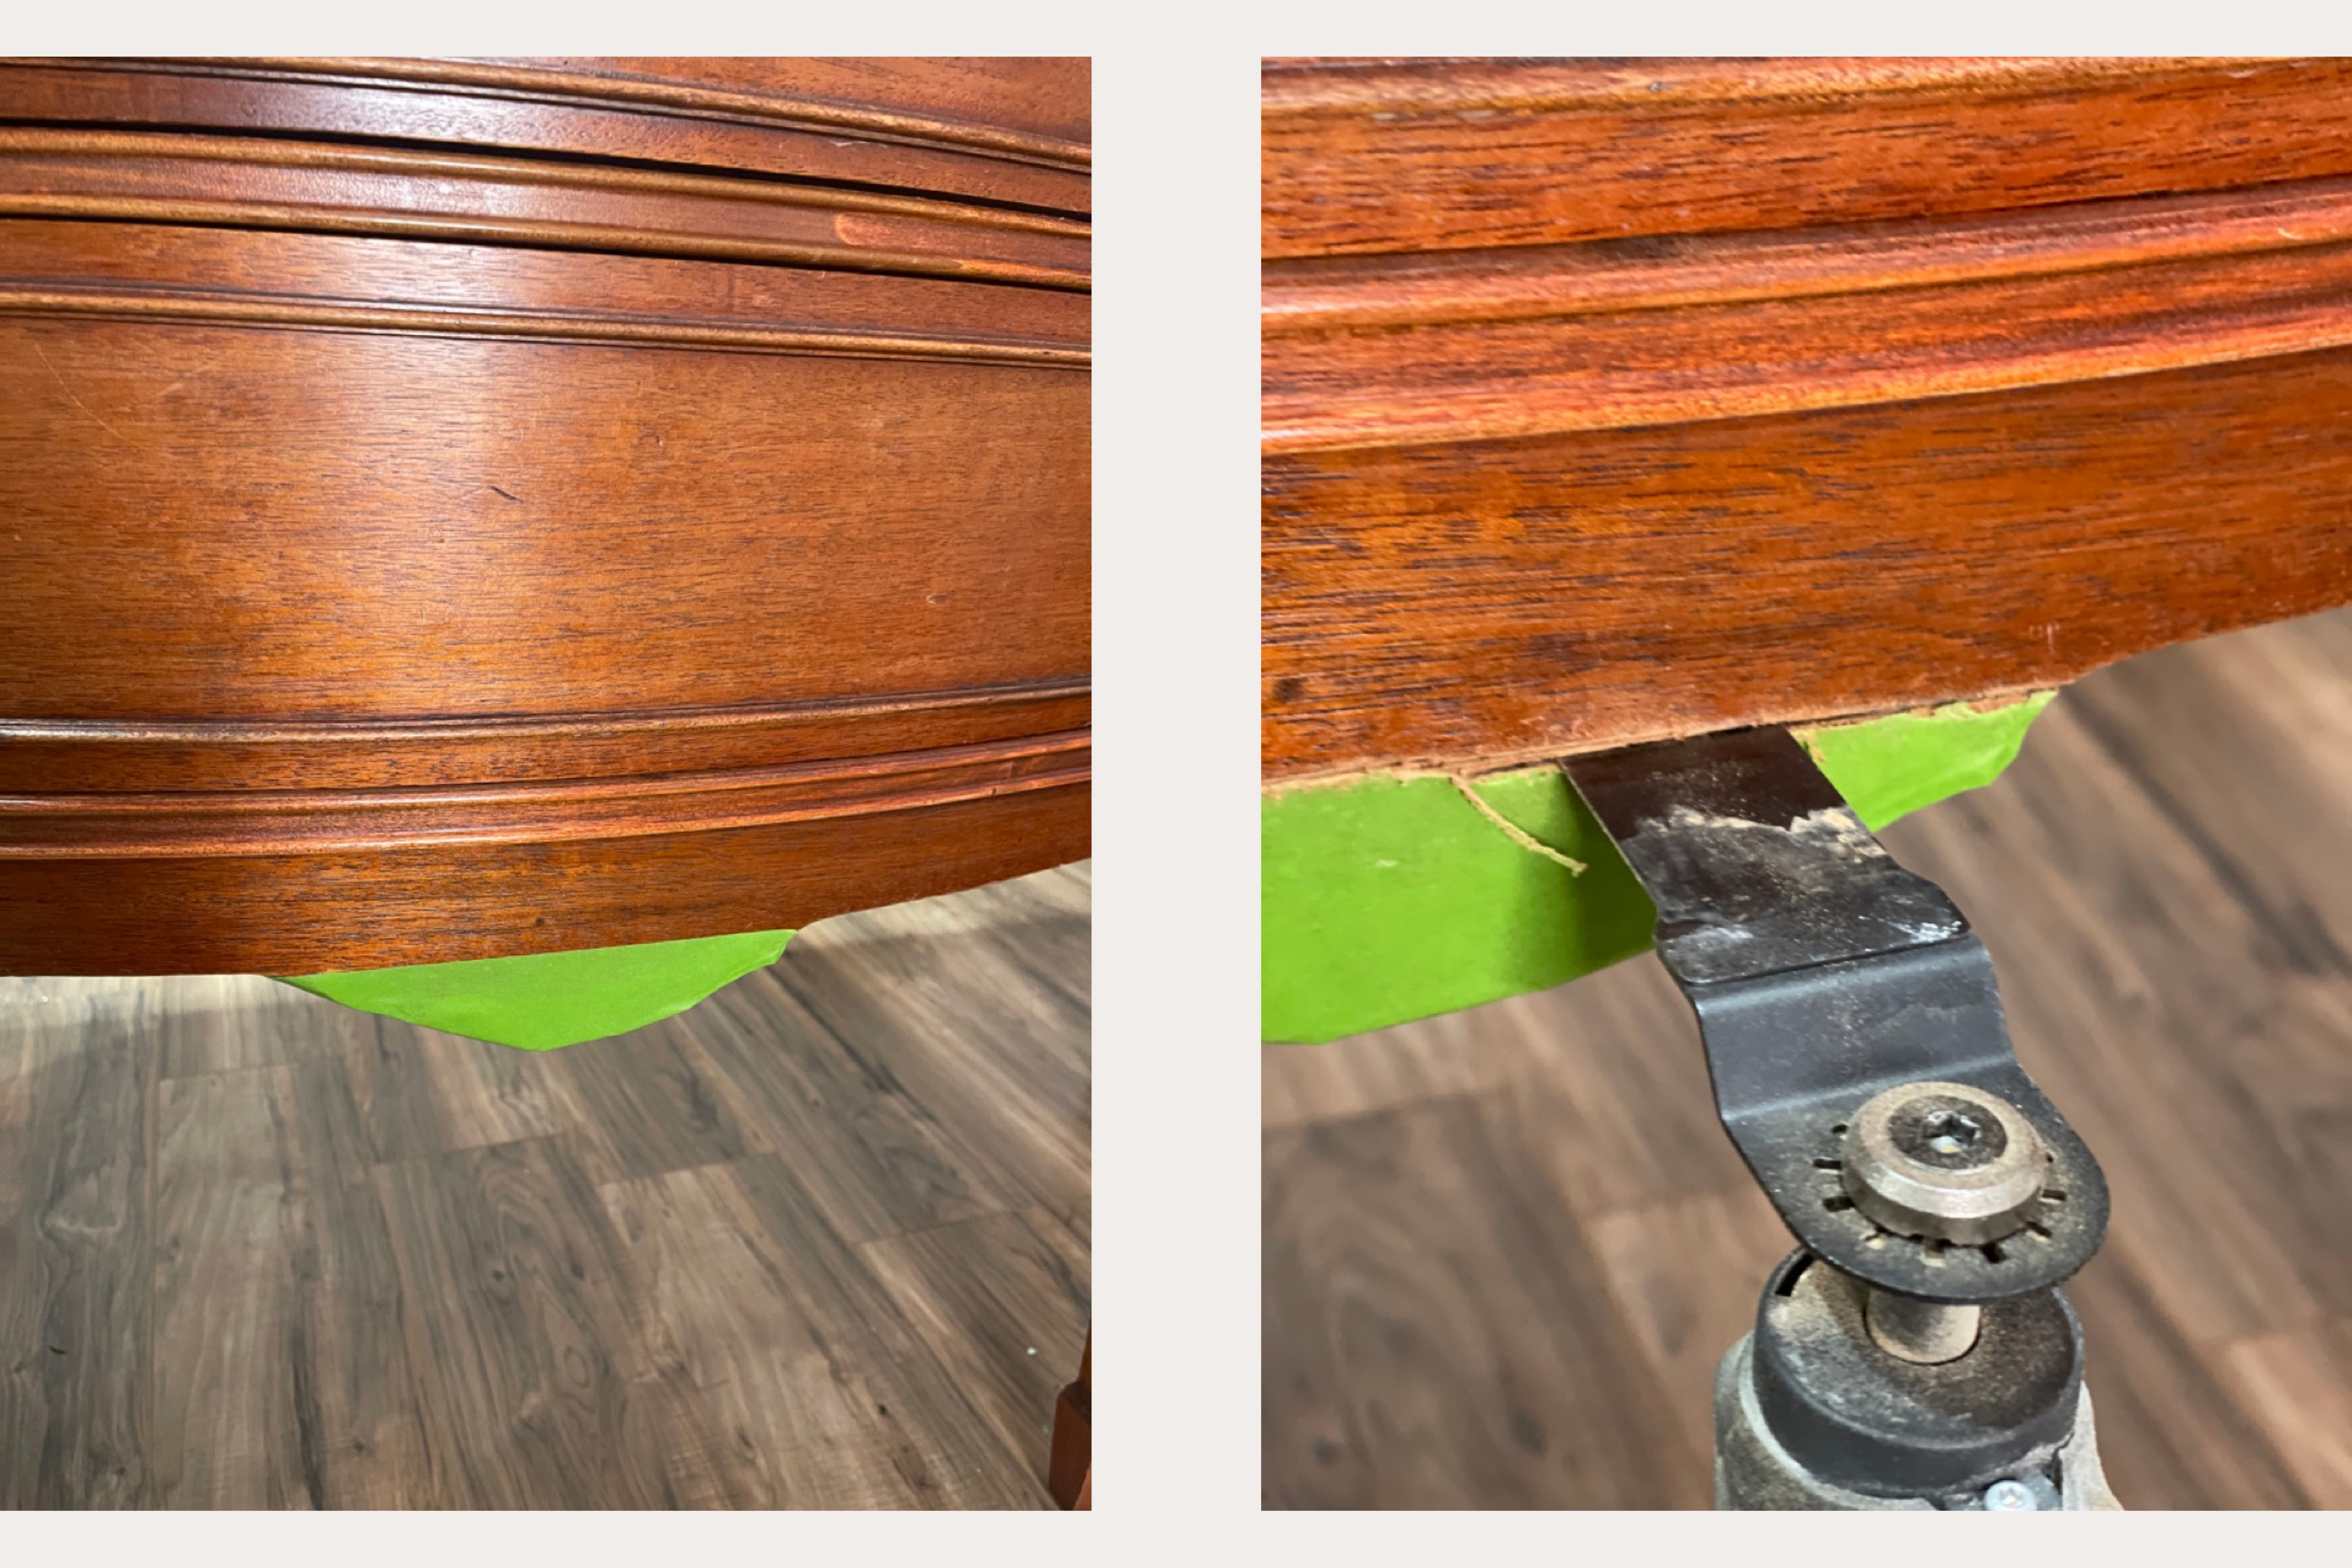
Here is what is looked like after removing the chipped piece and doing a light sand to smooth the cut flush to the rest of the console.
Step 2: Prep & Hardware Removal
The hardware was attached by two small screws and was really easy to remove. I took them all off and put them to the side for later. I gave the rest of the piece a good cleaning to remove any oils and dirt from the surface and inside all of the cabinets and drawers.
Next, I sanded the entire piece by hand with medium-grit sandpaper to get into all of the grooves and make sure the paint had a smooth surface to adhere to. You could use an orbital sander if your piece doesn’t have too many grooves. Whether by hand or with a sander, be sure to sand in the direction of the wood grain for the best results.
After sanding, I went over the entire piece with a damp, clean cloth, followed by a tack cloth to remove any wood dust and debris.
Step 3: Paint
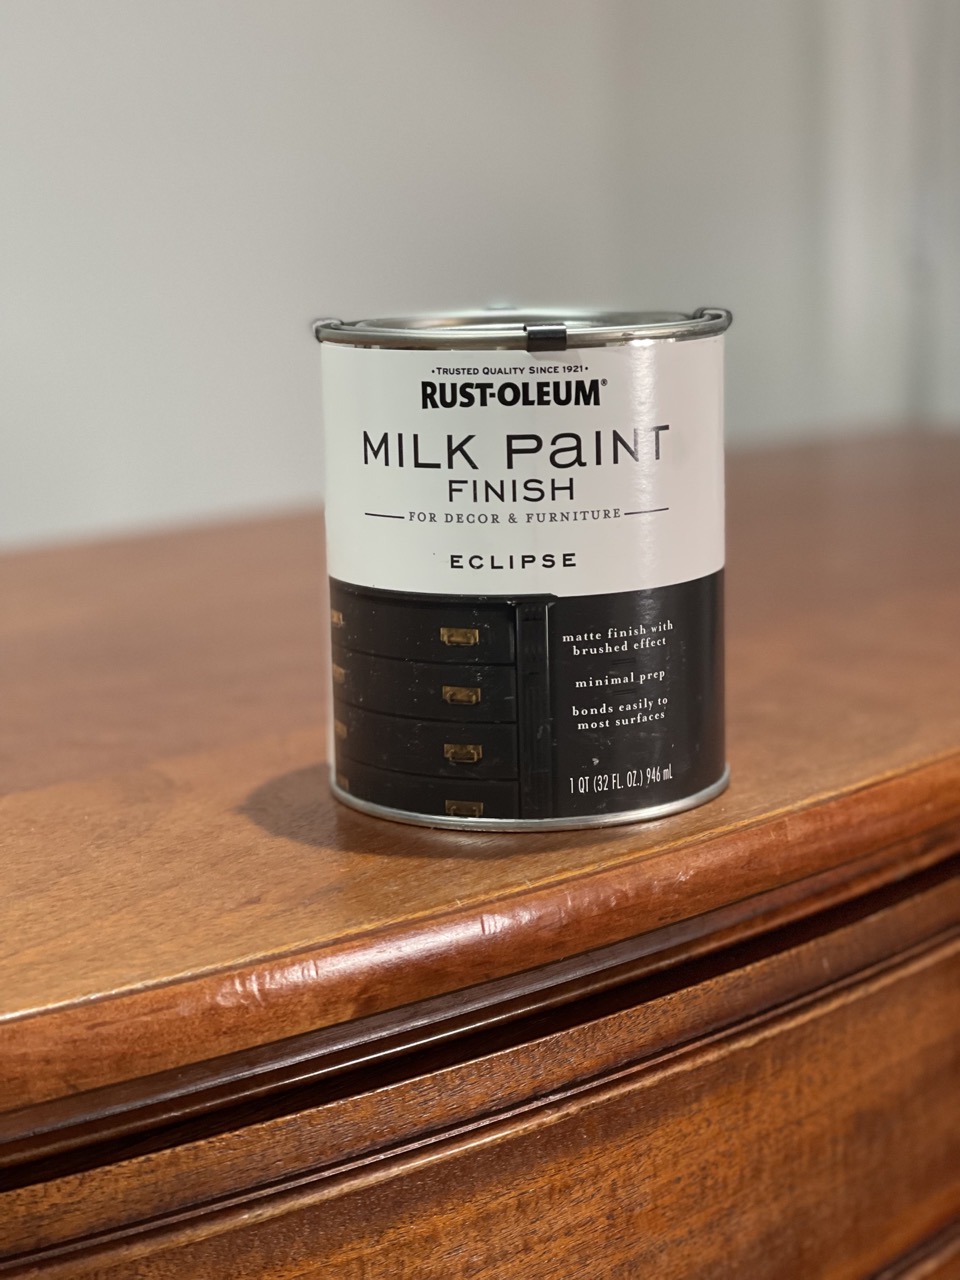
I knew before I even found the buffet table that I would be painting it black. I used this Rustoleum Milk Paint, as it is specifically made for furniture and has great reviews. This particular kind of paint does not require a primer, so I went right in with the paint directly on the bare wood. The paint color is not a true black, but a beautiful warm black that was the exact look I was going for.
I used a this angled paint brush to get into the grooves and harder-to-reach edges and a this foam roller to roll the rest of the paint on. If you have a paint sprayer handy, that would also be a great way to ensure a nice, even finish. It was winter when I completed this project, so I needed paint indoors and didn’t want to have to worry about the prep spraying requires, so I opted for applying the paint with a paint roller, which still worked out great.
If you’re DIY-ing something similar, it is a good idea to open any cabinet doors and completely remove any drawers before you start so that you can paint the edges of the drawer fronts and edges of the cabinet doors without worrying about messing up your paint job.
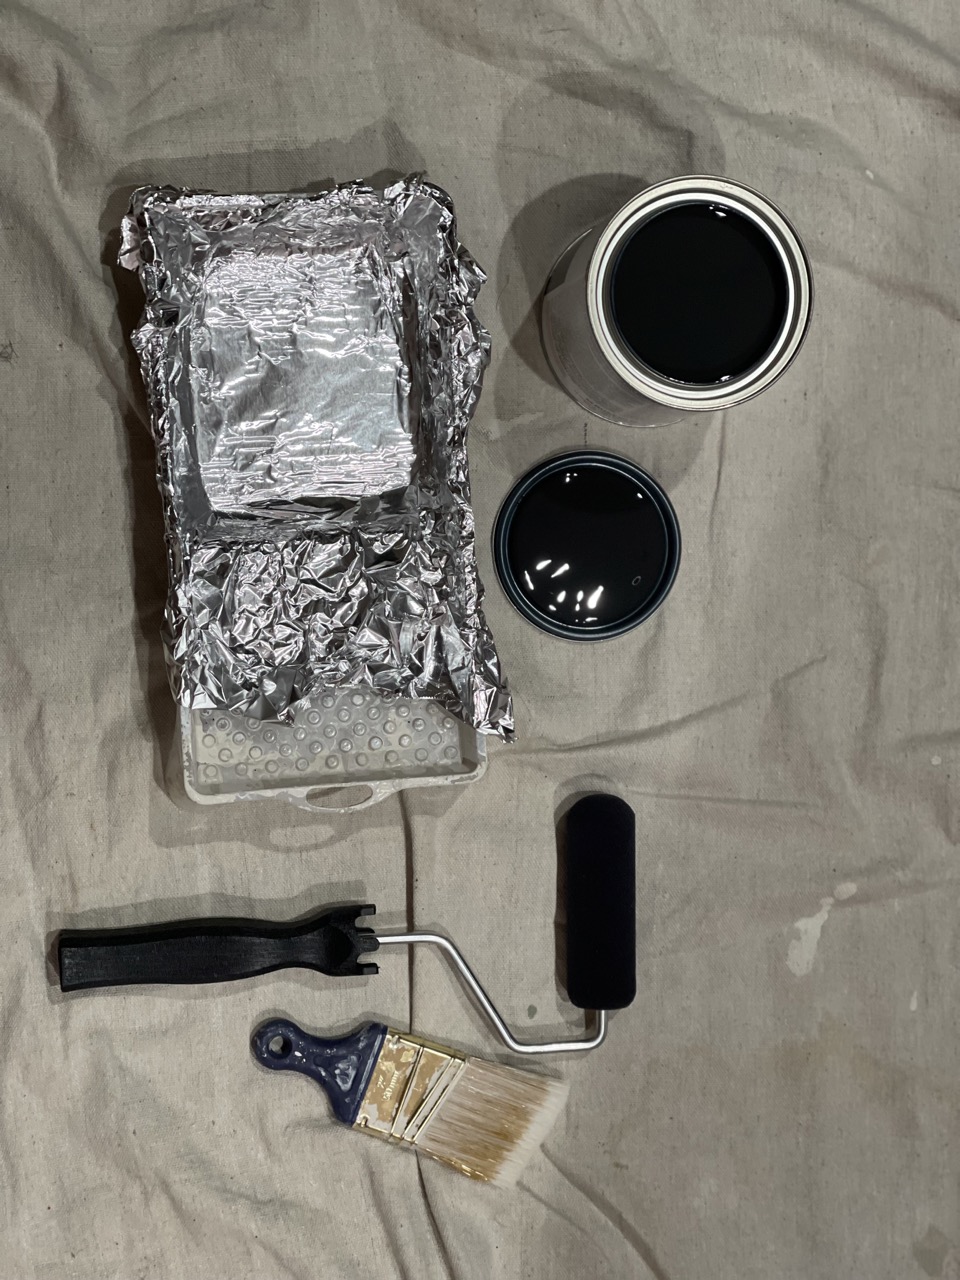
Tip: Line your painting pan with foil for easy clean-up when you’re done!
It took me 3 light coats of paint to get a nice, even finish. Between each coat, I lightly sanded with fine grit sandpaper and wiped off the residue with my tack cloth to get a silky smooth finish. This is a tedious step, but this fine detail work is what keep your upcycled furniture from looking like a DIY project. Sanding between coats also gives you the opportunity to address any brush strokes, drips of paint, or other imperfections in your application.
Tip: Prop your piece of furniture up on scrap wood to make it easier to paint the bottom edge or feet.
Step 4: Topcoat
After the base coats were complete, I used this General Finishes water-based clear coat in a satin finish. Some reviewers suggested mixing the top coat with paint for the first 1-2 coats, which worked beautifully. I used about 50/50 paint-to-top coat ratio on the first coat. On the second coat, I used less paint and about 80% primer. For the third and final coat, I used only the polyurethane with no paint mixed in.
I ended up doing 3 layers of topcoats total. I knew this furniture piece would be getting a lot of use and I wanted to make sure I had a durable finish that would not chip. On other pieces I’ve made over that aren’t used as often, I only needed 1-2 coats of topcoat.
Again, between each later I sanded with fine-grit sandpaper and used a tack cloth to wipe off any leftover residue. This process gave me an amazing, smooth finish that looks completely professional and hasn’t budged!
Step 5: Hardware Refresh
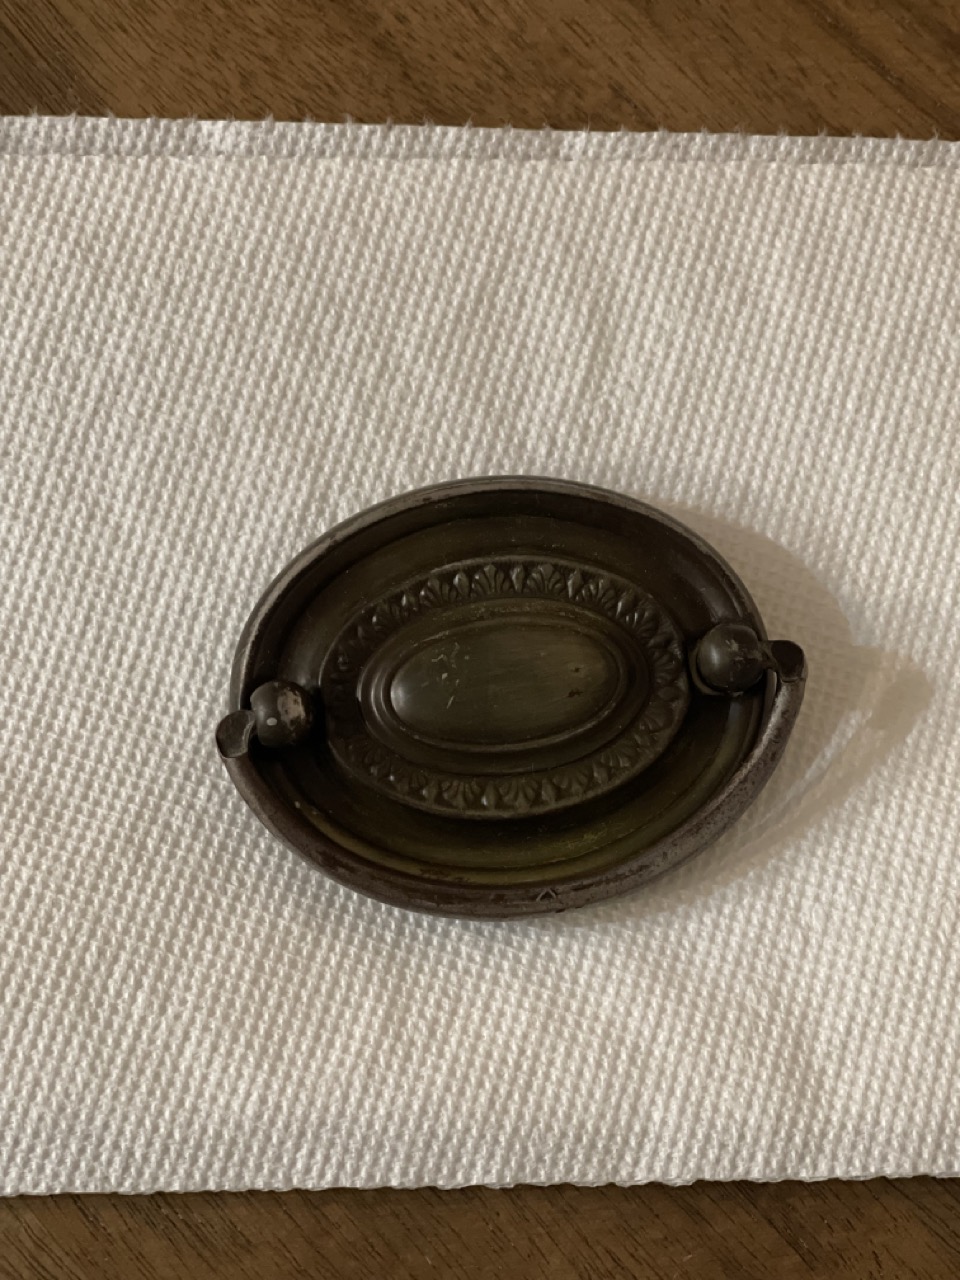
This is how the original hardware looked:
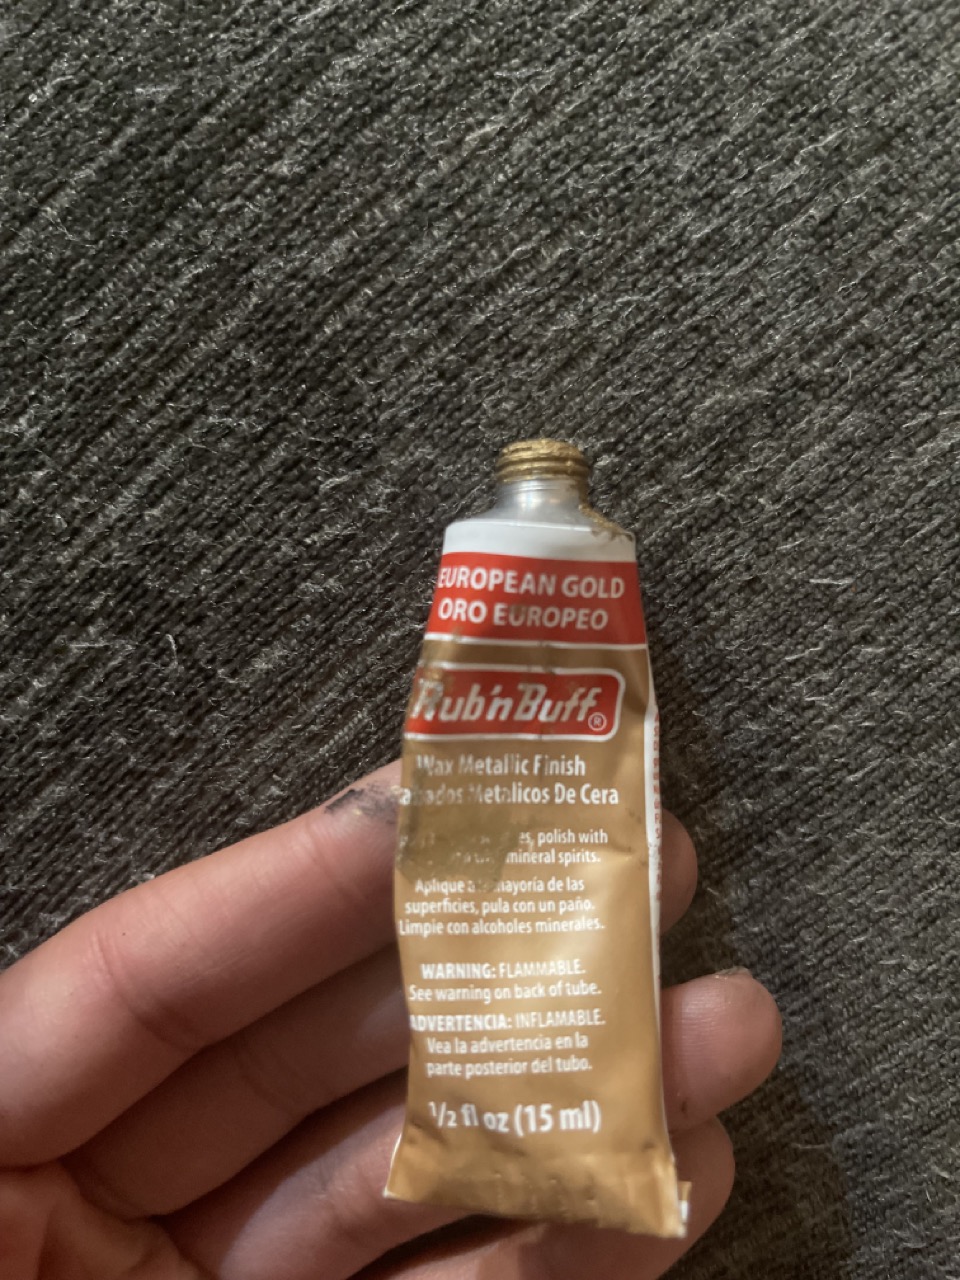
Instead of buying new pulls, I first attempted to revive the hardware with a few different products. Unfortunately, nothing I used seemed to change the appearance of the pulls at all. I wanted a brighter (but not too bright) gold against the black paint, so I opted to use Rub’n Buff in European Gold for a more golden look.
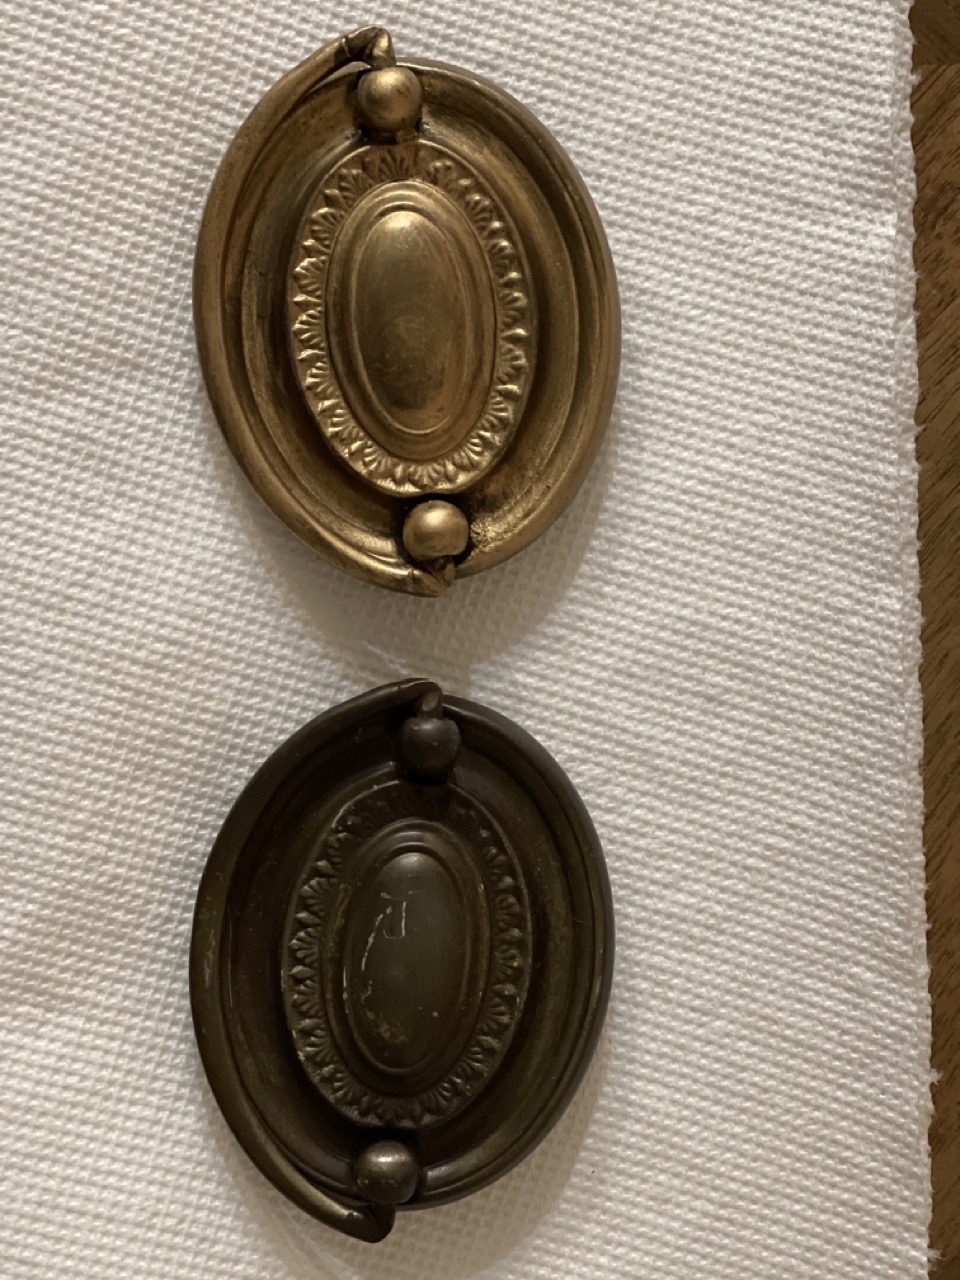
I was so happily surprised with how good this turned out and it only took maybe 10 minutes! Here is a side-by-side before and after with the Rub’n Buff:
Step 6: Final Touches & Styling
I reattached the hardware using the original screws that I set aside in step 2. I was SO happy with the way this turned out and could not wait to style it up!
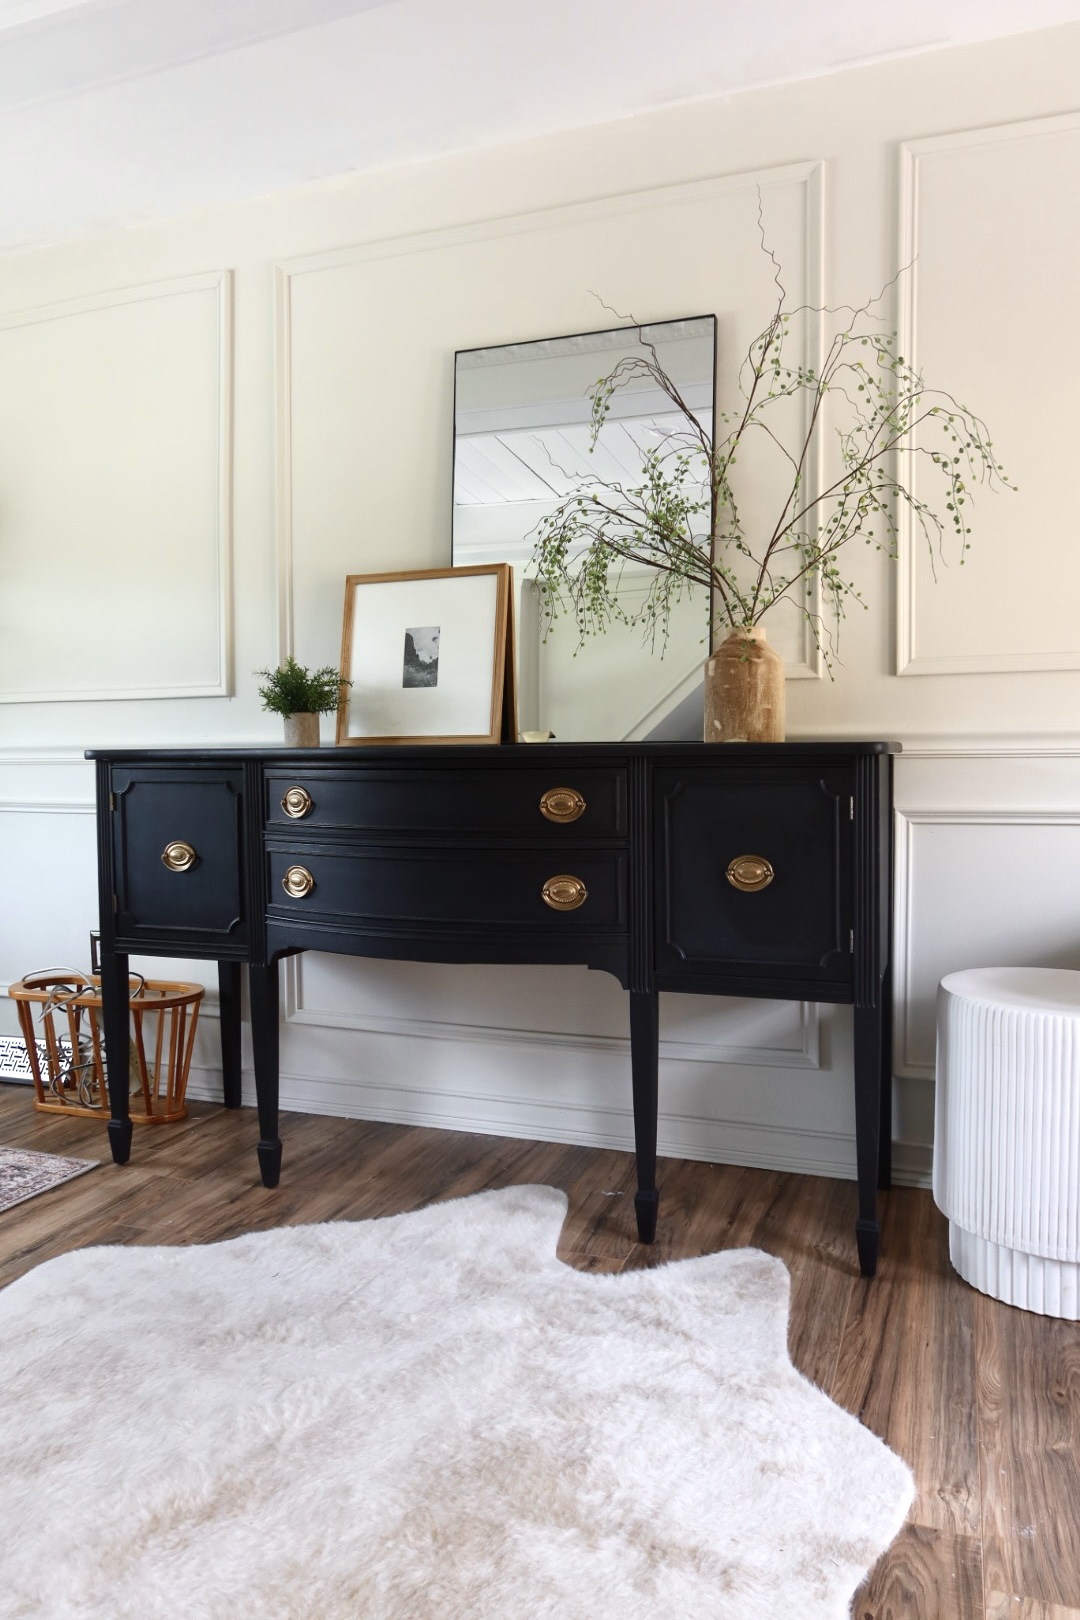
Here is the final product in all of its styled glory! It was totally worth the hard work and care it took to restore this piece into something that perfectly suits my current style and will last me many, many years to come!
I want to hear from you! What are your best tips for painting wood furniture? Drop them in the comments below!
xo, tjp
Related Post: Best Neutral Coffee Table Books for Styling Your Home


Read the Comments +